In this article, I’ll show you how to connect your smart lights to the Alexa app, and how to easily control them using natural, easy to remember commands no matter how many lights you add.
- How to connect your lights to the Alexa app
- Make sure all devices that control lights are designated as lights in the Alexa app
- How to use Groups to control multiple lights at the same time
- Put an Echo device in the same room you want to control
- How does Alexa know which device you're talking to?
- How to combine multiple Alexa groups to control entire sections of your home
- Use the following commands for controlling your lights
- Final Thoughts
How to connect your lights to the Alexa app
This is fairly basic and I assume most people have gotten at least this far on their own. But, if not…that’s okay! We all start somewhere, right?
There are two ways to connect your smart lights to the Alexa app. I will start by showing you the method that is the quickest and will work nearly every time. For this example, I just purchased some Govee Glide Tri LED panels, so I will show how to add them to Alexa.
Step 1
Download and install the app for your new smart device. In my example, it’s the Govee Home app.
Step 2
Create an account using that app and don’t forget the login and password information because you will need it again shortly.
Step 3
Add your devices to the app.
Step 4
Next, you need to link the account you just created to your Alexa account. Open your Alexa app and select “More” in the lower right corner.
Step 5
From the More screen, select “Skills & Games”.
Step 6
Tap the “Search” icon in the upper right corner.
Step 7
Type in the brand name of your light and do a search. NOTE: The exact name of the Alexa skill may not be the same as the device.
Step 8
Select the appropriate skill to add.
Step 9
Tap “Enable to Use”
Step 10
Next, enter your login and password information from step 2. NOTE: Depending on the app, the account may be automatically linked without needing to re-enter the login info.
Step 11
Once the account is linked, tap Next and the Alexa app will discover any devices you have already added to the app in step 3.
Step 12
Once the devices are discovered, you can name them and place them into groups.
The beauty of the above method is that you only have to do it once. In my example, if I purchase any more Govee lights in the future, all I have to do is add them to the Govee app. Once I do that, the Alexa app will automatically discover the new devices.
Step 1
From the Alexa app home screen, tap “Devices” on the bottom menu.
Step 2
From the Devices screen, tap the “+” icon in the upper right to add a new device.
Step 3
Select “Add Device”.
Step 4
Search for your device.
Step 5
Select your device.
Step 6
Follow the on-screen instructions. In most cases, the instructions will simply tell you to follow the same procedure I showed above.
Make sure all devices that control lights are designated as lights in the Alexa app
In most cases, this will automatically be done when you connect the light to Alexa. However, one notable exception is if you are using a smart plug to control a light. In this case, the Alexa app won’t automatically assume it is controlling a light since a smart plug could potentially be used to control many different household appliances.
To tell the Alexa app to treat the smart plug as a light switch follow these steps:
Step 1
Open the Alexa app and from the home screen select “Devices”.
Step 2
At the top of the Devices screen, select “Plugs” (you may have to scroll to the right).
Step 3
The Plugs screen should show you a list of all the smart plugs you have connected to your Alexa app. Select the device you would like to change. In my example shown in the images below, I will select “Booster”.
Step 4
From the device’s screen, select the gear icon in the upper right corner (settings).
Step 5
From the device settings screen, select Type
Step 6
Set type to “Light”
Step 7
Press “Done”
How to use Groups to control multiple lights at the same time
I was using Alexa way back before they added Groups and it wasn’t great. Every light had to have its own name, and in order to specifically command that light, you had to remember the name. For two or three smart lights, this was okay, but my house currently has over 30 smart lights and remembering a specific name for each is completely unrealistic.
Using the Groups feature, you can put multiple lights into a single group, and control the entire group with a single command.
Adding individual devices to a group is simple:
Step 1
Open the Alexa app and select “Devices”.
Step 2
From the Devices screen, select the “+” in the upper right corner.
Step 3
Select “Add Group”.
Step 4
Choose “Create a room or device group”.
Step 5
Press Next.
Step 6
Choose a name for the group and press “Next”. Typically, this will be the name of a room.
Step 7
Scroll through your list of devices and select the devices you would like to add to the group. Then, press “Next”.
Step 8
Select any Alexa devices to add to the group. Then press “Next”. This allows you to simplify your commands when controlling the group (see next section).
Step 9
Press “Done” to finish group creation.
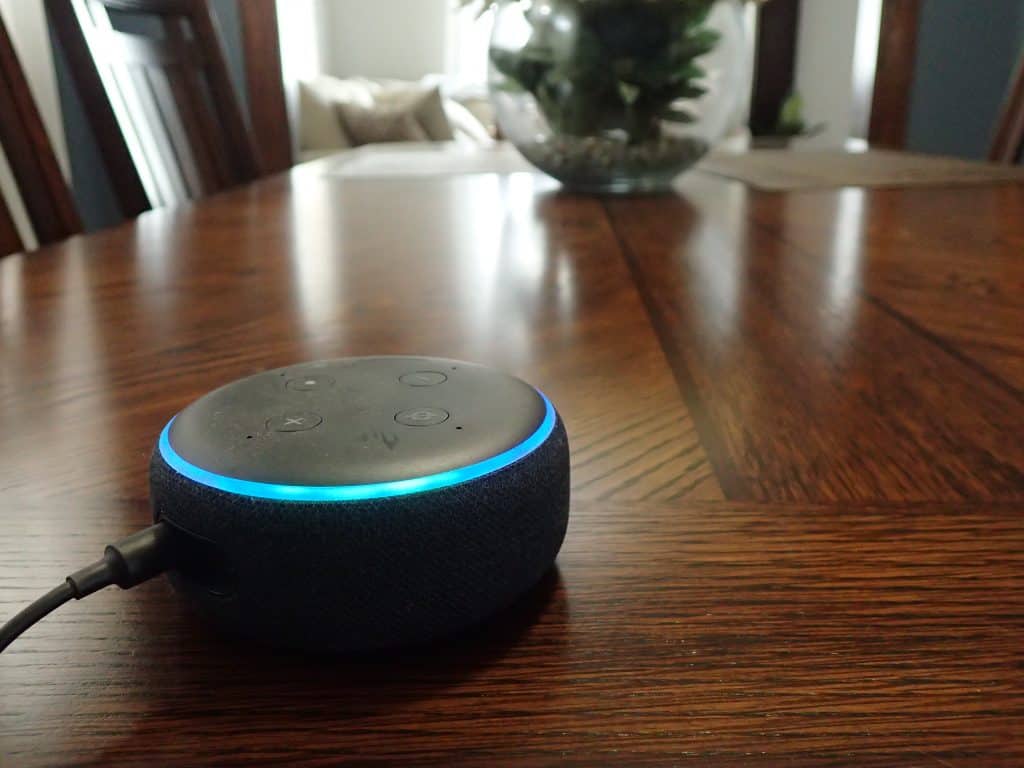
Put an Echo device in the same room you want to control
If you place an Echo device in the same group as your smart lights, you can greatly simplify the commands you use to control the lights in that group (What is the best Echo device for the each room?).
If you want to control a group of lights that called “kitchen” and you don’t have an Alexa device in that group, you would have to say, “Alexa, turn on lights in Kitchen”, or “Alexa, set lights to 50% in Kitchen”.
However, once you add an Alexa device to the group, you can get rid of the “in Kitchen” part of the command.
For example, you can simply say, “Alexa, turn on lights”, or “Alexa, set lights to 50%”.
There is no need to specify which lights to control because Alexa will automatically assume you are talking about the lights in the same group as the device you are speaking to.
This simplification is great because:
- It shortens the command.
- You don’t have to know or remember the name of the room (also great for guests).
How does Alexa know which device you’re talking to?
If you have multiple Alexa devices connected to groups, you want to make sure that when you are speaking a command, the correct Alexa device hears you.
For example, you might say “Alexa, turn on the lights” when in the kitchen and expect the kitchen lights to turn on. But, if you also have another Alexa device near you that is grouped to the living room lights, the living room Alexa could potentially take over and turn on the living room lights instead.
Although this isn’t a disaster when it happens, it certainly doesn’t feel very smart.
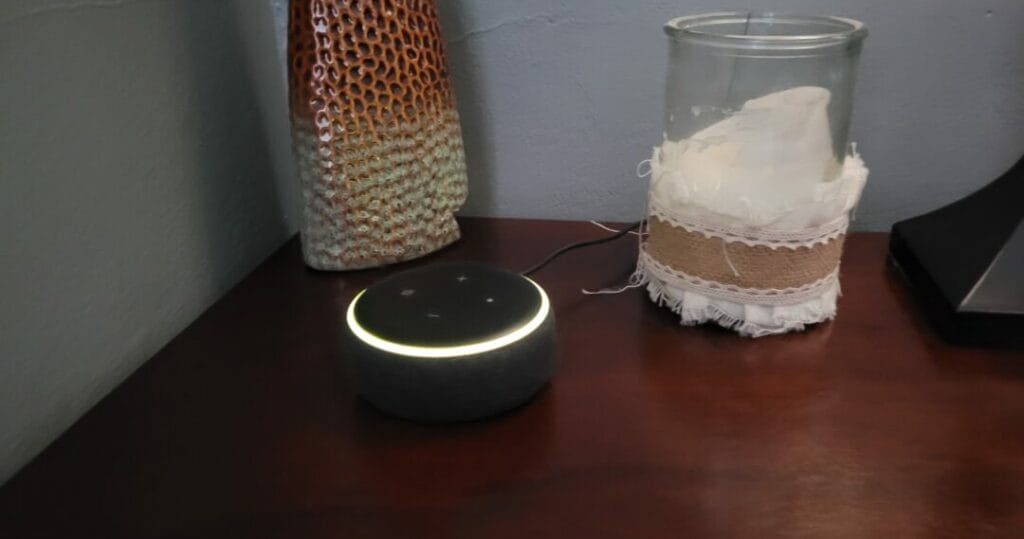
On my main floor, I have four Echo devices: one in the living room, dining room, kitchen, and bathroom. The space is open enough so that when I speak a command to any one of the devices, all four devices typically “hear” the command. Therefore, it’s conceivable that any one (or all) devices could respond to a command.
However, the Echo devices are equipped with multiple microphones which allow them to sense sound volume and direction. Using that information, they are able to communicate with each other to figure out which device should respond to the command. In my experience, this system works really well. It’s rare that the “wrong” device responds to a command.
To maximize the chance that the correct device responds, here are the two (admittedly somewhat obvious) tips that I have learned after several years as an Alexa user:
- Place the Echo devices as far from each other as possible. For example, if you have two rooms separated by a doorway, don’t place each Echo device right next to the door. Instead place the device on the wall furthest from the door in each room.
- Talk at the device that you want to respond. Sometimes you can actually be closer to one Echo device, but if you direct your voice at another Echo device, the one which you direct your voice at will respond.
How to combine multiple Alexa groups to control entire sections of your home
As I said above, my main floor has 4 rooms. Each room has its own group in the Alexa app and has its own Echo device assigned to the group.
If I want to shut off all the lights at night, I could walk around and tell each Echo device in each room to turn off the lights. That does work, and that’s how I did it when I first set it up.
However, it’s way simpler to use only one command by leveraging another Alexa feature which let’s you combine groups into one larger group.
To combine existing groups into a larger group,
Step 1
Open the Alexa app and select “Devices”.
Step 2
From the Devices screen, select the “+” in the upper right corner.
Step 3
Select “Add Group”.
Step 4
Choose “Combine rooms or groups”.
Step 5
Press Next.
Step 6
Choose a name for the new group. You can choose from a list of pre-existing names or make your own. Press “Next”.
Step 7
Select the groups you would like to include in the new “super-group”. Press “Next”.
Step 8
Press Done.
Use the following commands for controlling your lights
You can use the following commands to control any individual light or group of lights. Typically, you don’t have to repeat these commands exactly. Alexa is usually smart enough to figure out what you’re trying to do.
On/Off Control
“Alexa, turn on [device].”
“Alexa, turn off [device].”
Dimmer Control
“Alexa, set [device] to x%.” – This is the dimming command I use most frequently.
“Alexa, make [device] brighter.”
“Alexa, make [device] dimmer.”
“Alexa, set [device] to night.” – Sets lights to 1%
Color Control
“Alexa, set [device] to [insert color].”
“Alexa, set [device] to daylight.” – Sets lights to a cool white.
“Alexa, set [device] to evening.” – Sets lights to a warm white.
- When you want to control a group of lights and the Alexa device IS in the group you want to control, substitute the word “lights” for “[device]”. For example, “Alexa, turn on [device].” becomes “Alexa, turn on lights.
- When you want to control a group of lights and the Alexa device is NOT in the group you want to control, substitute the word “lights” for “[device]” and then add “in [group name]” to the end. For example, “Alexa, turn on [device].” becomes “Alexa, turn on lights in kitchen.”
- If you want to control an individual device, substitute the device name for “[device]”. For example, “Alexa, turn on [device].” becomes “Alexa, turn on ‘my lighting device’.”
Final Thoughts
There was a time when the Alexa app was a super-basic dumpster fire of a smart home app. However, it has evolved to be able to handle your smart home’s lighting needs quite well. You (or even your visitors) can easily turn your lights on or off, adjust brightness, and even change colors with simple, easy to remember commands. Whether you have a few lights or way too many, the Alexa app can be utilized to effectively control them all with just your voice.