Your home may benefit from having an Amazon Alexa smart speaker. However, you’ll be required to have a Wi-Fi connection installed in order for it to function with your devices.
After purchasing an Alexa device, one of the first things you should do is connect it to a Wi-Fi network.
Furthermore, your Alexa device won’t function if you change your Wi-Fi network or try to use it in a new location with a different Wi-Fi network. Hence, you will have to reconnect it.
There are two ways you can connect your Alexa to the internet, by using the app and a browser. In this article, we will discuss the two ways in which you can connect your Alexa to the internet.
Does Your Alexa Need Internet To Work?
Yes.
A Wi-Fi connection is required for Alexa devices to operate effectively. An audio recording of your query or command is delivered to Amazon’s cloud via your Wi-Fi connection when you speak to Alexa.
After processing, it is returned to your device through Wi-Fi. Enabling Alexa to respond to your query or carry out your request.
Connect Alexa To Internet Using The App
You can use the Amazon Alexa app to connect your Alexa device to the internet. The following steps are what you need to do to connect your Alexa using this app.
Step 1: Download App
The Google Play Store and the Apple App Store both offer the Alexa app for smartphones and tablets. The Alexa app and service is free to use, so no worries there (learn more about the hidden costs of using Alexa).
However, be aware that there are numerous fraudulent Alexa apps out there. So be sure to download the AMZN Mobile LLC-developed Alexa app.
Step 2: Find Echo And Alexa
Open the app after downloading it, then select Devices. This can be seen in the lower-right portion of your screen.
Then, select Echo & Alexa from the menu that appears. It is located in the upper-right corner of your device.
Step 3: Select Your Alexa Device
Now decide which Alexa device you wish to join a new Wi-Fi network with. If your device isn’t listed, return to the Devices tab and choose All Devices.
This is displayed at the right of Echo and Alexa. You might need to reset your device and set it up as a new device if you can’t find it after doing so.
Ask Alexa, “What is your device name?” if you can’t recall the name of the device.
Step 4: Change Wi-Fi Status
Tap Status next. This will display the Wi-Fi network to which your device is presently logged into. Then select Change, this will be seen under Wireless and next to Wi-Fi Network.
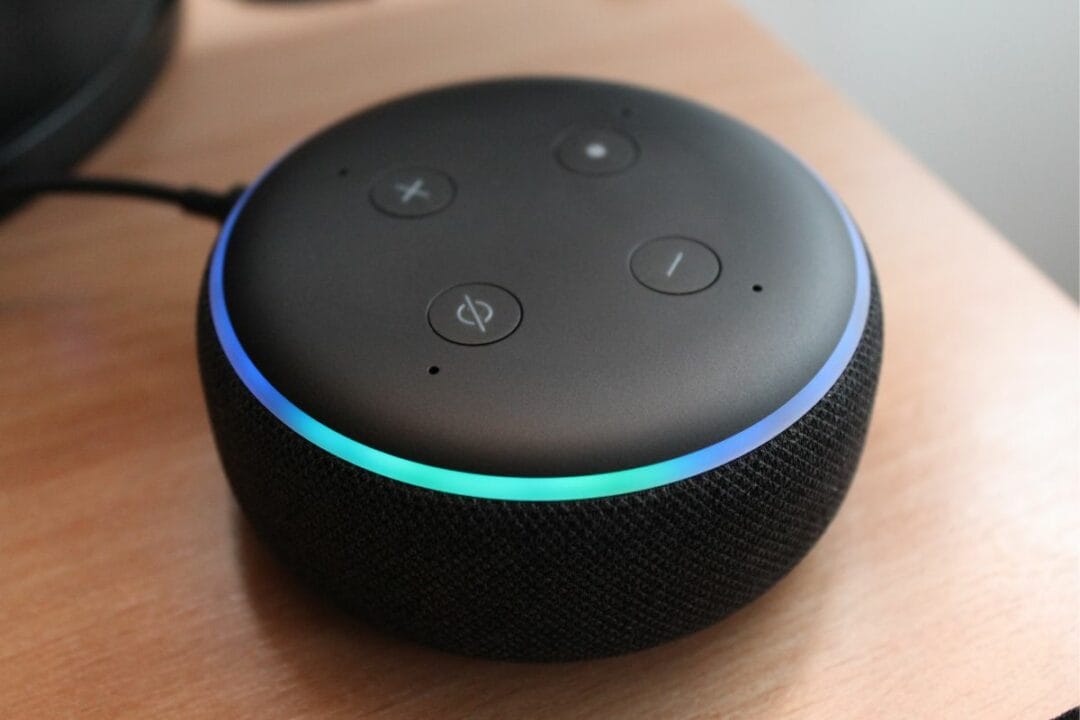
The action button on your Alexa should then be pressed and held. This is the button on top of your Echo device with the dot icon.
Step 5: Setup Mode
Tap Continue once your smartphone is in setup mode. Once the ring light on your smartphone becomes orange and begins to spin, you will know it is in setup mode.
Additionally, Alexa will announce that it is currently in setup mode. Observe the directions in the Alexa app. Choose your Alexa device from the list after that.
Step 6: Add Your Internet
Choose your internet network next. Tap Rescan Network towards the top of the screen if your Wi-Fi network hasn’t appeared after a few seconds.
Make sure your tablet or smartphone is attached to the identical Wi-Fi network as your Alexa device for the best results.
Enter your Wi-Fi password and click Connect. Wait until your Alexa device successfully joins your Wi-Fi network. This could require some time. As soon as your Alexa device joins your Wi-Fi, it will alert you.
Connect Alexa without the app (use a browser)
In the rare case that the app doesn’t work, then you will need to connect our Alexa using a browser.
Step 1: Login Into Your Amazon Alexa Account
Visit alexa.amazon.com in your web browser. Then log into your Amazon account using your Amazon login information.
Select the ‘Create a New Amazon Account’ button at the bottom of the window if you don’t already have an Amazon account.
Step 2: Set Up New Device
Click Settings next. This can be seen on the window’s left sidebar. After that, choose Set up a new device. Choose the Alexa device you intend to use to join a Wi-Fi network. Click Continue after that.
Step 3: Plug Your Alexa In
After that, connect your Alexa device to a power supply. You now need to wait for the ring light to turn orange (what do Alexa’s ring colors mean?).
Step 4: Connect Your Computer
Once that has happened, join an internet network on your computer that has the name Amazon-XXX. Connect to that network on your computer without exiting your browser.
To configure Alexa on a Windows 10 PC, select the Wi-Fi button in the bottom-right of the screen. The Wi-Fi symbol is located in the top right corner of the screen if you’re using a Mac. The network should then appear in your list of Wi-Fi networks that are available.
Step 5: Add Your Internet
In your browser, select Continue. Your computer will now be linked to your Alexa device. Then decide the Wi-Fi connection you want Alexa to join, on your browser. Input your Wi-Fi password, then click Connect.
Once more, give Alexa some time to establish a connection. Now your Alexa will be connected to your internet.
Final Thoughts
It is quite simple to connect your Alexa to the internet. You can do this via the Alexa app, or logging into your Amazon account via a browser.
Now that you’re connected to the internet, you can think about connecting more smart home devices to your Alexa. I recommend starting with smart lights and switches. Here is a quick tutorial on how to setup your lights so that you and your guests can control all your smart lights with natural, easy to remember language.