UPDATED 12/13/2019: Please read the comments section. For some currently unknown reason this tutorial seems to work for some people but not for others. If you have any insight into why, we’d love to hear from you.
Many smart home products are compatible with Alexa, but far fewer are directly compatible with Samsung SmartThings hub. The SmartThings’ automations are more powerful so wouldn’t it be great if we could link these two universes together?
This tutorial will teach you a method to make any device that can be controlled by Alexa also be controllable by Samsung SmartThings.
Recently, Alexa added an option that allows certain types of sensors to trigger Alexa routines (this only works for people in the US and UK…don’t ask me why that is).
The method in this tutorial takes advantage of that option. It let’s you trigger an Alexa routine with basically any SmartThings action instead of just the sensor trigger. It may seem like it’s a bit of a hack (because it is), but it works well. And, in my experience it’s quite reliable.
Here’s the method in a nutshell:
- Create a virtual switch/sensor in SmartThings
- Create an Alexa routine that is triggered by the virtual sensor. The Alexa routine will send a command to the device you’re trying to control.
- Create two SmartThings automations that turn the virtual switch we just created on or off.
The SmartThings automation triggers the virtual sensor, which in turn triggers the Alexa routine which sends the command to the device. Simple, right?
You will need:
- Samsung SmartThings Hub
- an Alexa speaker with Alexa app
- a SmartThings connected “trigger” device
- and an “action” device that can be controlled by Alexa.
If you follow this tutorial, you should be able to have your first routine up and running in about 20 minutes. After that, creating more only requires a couple minutes each.
1. Create the Virtual Switch/Sensor
Go to the following page:
Select all text (ctrl-a) and copy (ctrl-c). Then paste (ctrl-v) to your New Device Handler
Go to https://graph.api.smartthings.com/ Click on Login in the upper right hand corner.
Then, sign into your Samsung account. If you already have your SmartThings set up, you should already have a Samsung account. If not, you’ll need one.
If this is your first time, you’ll have to agree to some terms and conditions by checking a box. Then, click Next.
Eventually, you should end up on a screen that looks like the screenshot below. Click on My Device Handlers.
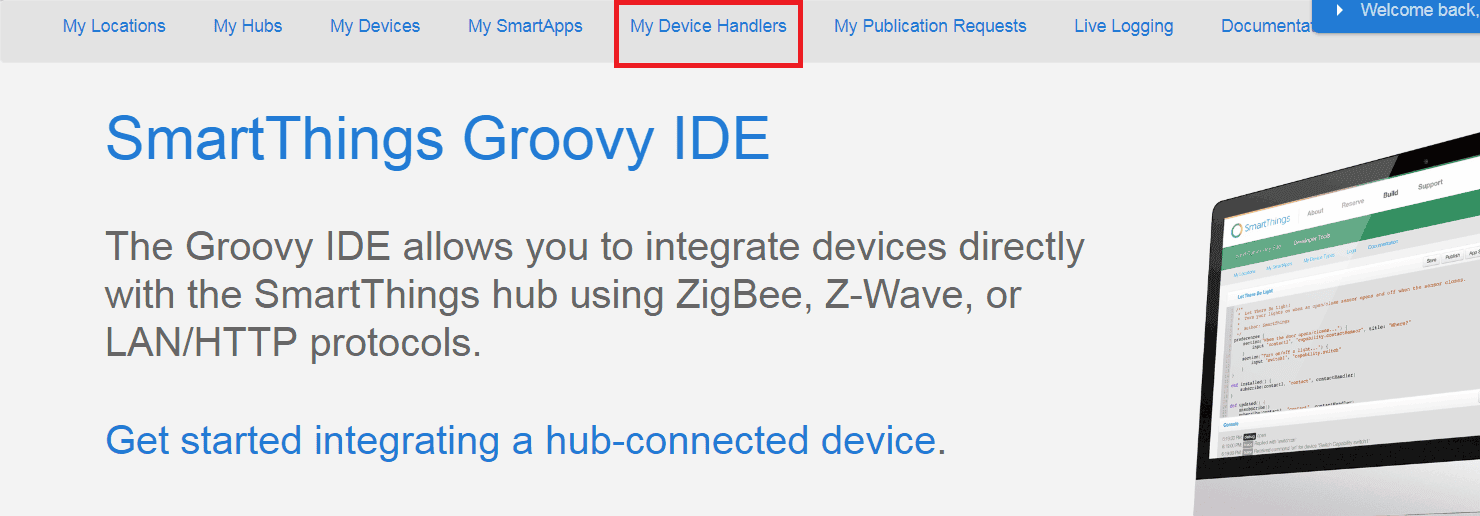
This will take you to your list of device handlers. We want to Add one now.

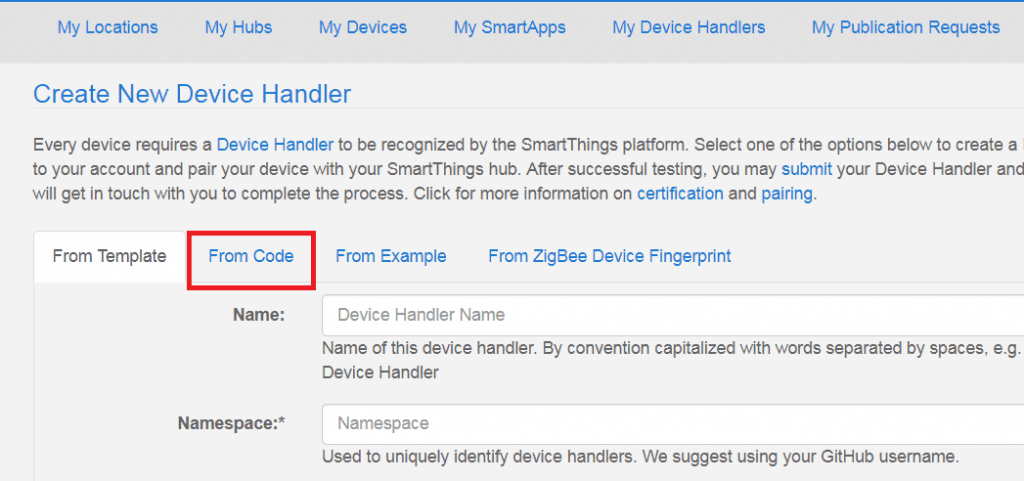
Next, you should see the Create New Device Handler screen. We are going to use some code someone has already written so we want to create From Code.
The code we are using will create a device that will be a virtual switch and contact sensor in one. When you turn the virtual switch on or off, the virtual contact sensor gets automatically turned on or off by the switch.
Luckily, there’s all kinds of generous people in the SmartThings community that create custom code and share it with us for free.
To get the code, go to the following page: https://raw.githubusercontent.com/bjpierron/SmartThings-Alexa/master/devicetypes/bjpierron/simulated-alexa-switch.src/simulated-alexa-switch.groovy
Select all text (ctrl-a) and copy (ctrl-c). Then paste (ctrl-v) to your Create New Device Handler page.
Scroll to the bottom of the Create New Device Handler page and click Create.
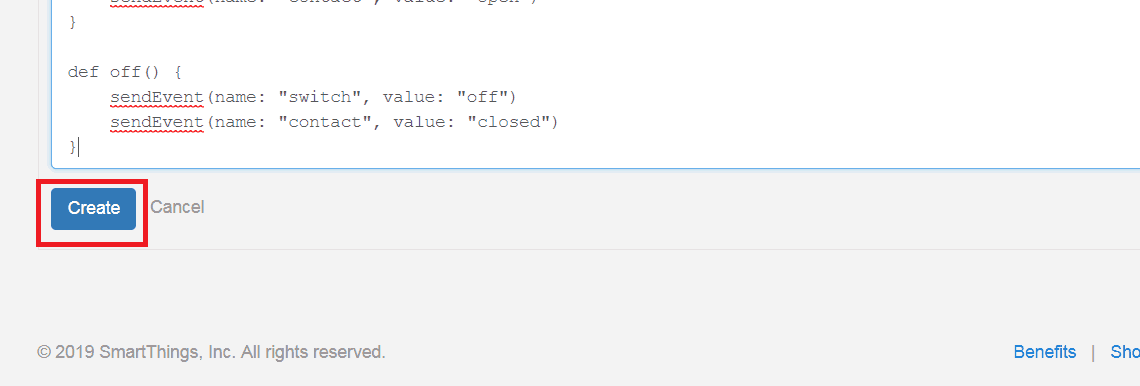
This will create a SmartDevice named “Simulated Alexa Switch”. You should see the green “Created SmartDevice” message. Before you can use it, you’ll have to publish it, so click Publish.

If everything goes as expected, you should see the green “Device type published successfully” message.

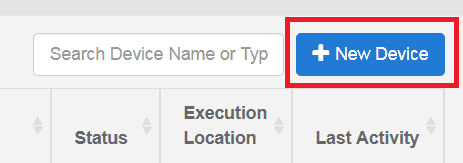
Next, we need to create the device that will use the device handler we just added. Click on My Devices in the top menu bar. Then, click New Device in the upper right corner.
Then, you’ll have to fill in the required blanks. I named my device “virtual switch” but you can name yours whatever you want.
When you select “Type”, you want to select “Simulated Alexa Switch”. It will be all the way at the end of the pulldown list. This tells SmartThings to use the code we just published for this device.
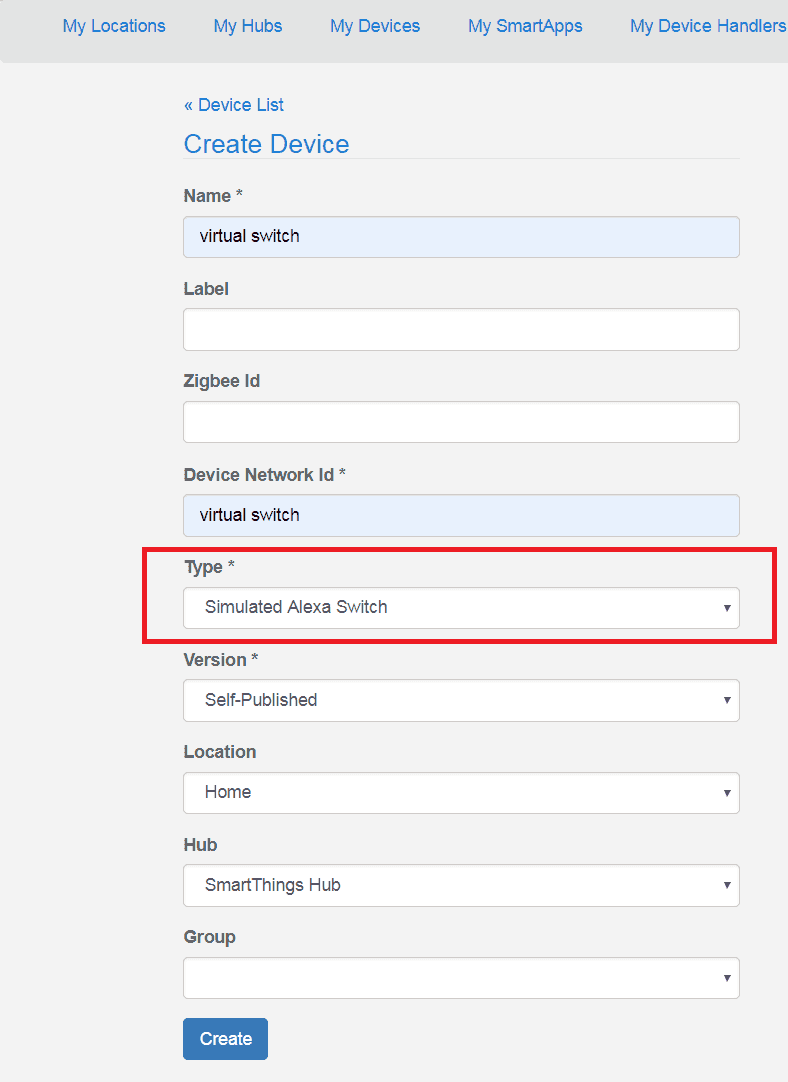
Once the appropriate blanks are filled in, click the blue Create button to create your device.
Now, check to make sure it worked. If you click on My Devices, you should see a list of your devices which should include your new device.

Great, the device is created. That’s all you need to do here.
2. Create The Alexa Routine
Next, we are going to use the Alexa app to create a routine that is triggered by the new virtual device you created.
First, Enable SmartThings Skill
If you don’t already have the SmartThings skill enabled in your Alexa app, you should do that now. This will allow your Alexa app to see the virtual device you just created.
To enable the SmartThings skill:
- Open your Alexa app and select devices from the bottom menu.
- Then, select “YOUR SMART HOME SKILLS”.
- Press “ENABLE SMART HOME SKILLS”.
- Next, search for and select the SmartThings skill.
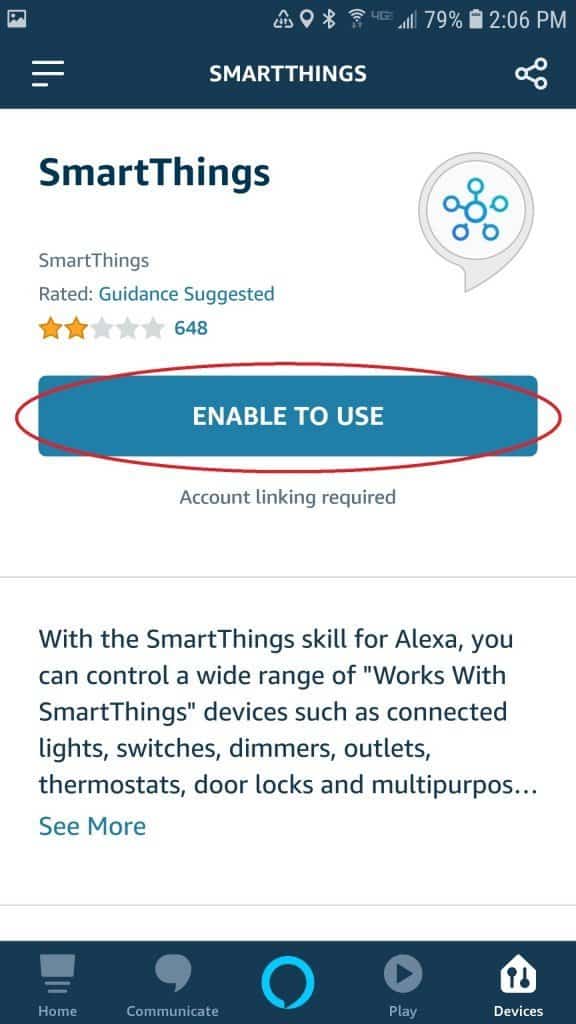
- Finally, press “ENABLE TO USE”.
Create New Routine
For this routine, you will use the virtual switch closing as your trigger and any action you want for the action. Here’s how I did mine:
- Go to the main menu in the Alexa app and select Routines.
- Press + to create a new routine.
- Press + next to When this happens.
- Select Device.
- You should see the name of the device you just created. Mine is virtual switch. Select it.
- You can choose to activate the routine when the switch either closes or opens. I am going to choose Close. Then press SAVE.
- Now select Add action.
- Select Smart Home.
- Select Control device.
- Select the device you want to control. I have an Amazon plug that controls some LED strip lights in my living room. It’s called Up lights.
- I’m going to use this routine to turn those lights on. Press Next.
- Press Save.
That’s all you need for now with the Alexa app.
3. Create SmartThings Automations
We are going to create two automations in the SmartThings app to make this work properly.
The first automation will be the automation you use to trigger the Alexa routine you just made.
It will close the virtual sensor (which triggers the Alexa routine) when my living room motion sensor senses motion. You can choose anything you want in place of my living room motion sensor, but the rest should stay the same.
The second automation will reset the virtual sensor. Without this second automation, the first automation will only work once. The virtual sensor would basically be stuck closed and it would never trigger the Alexa routine again.
First SmartThings Automation
Our virtual switch/sensor that we created works like this: when the switch is turned on, the sensor is open. when the switch is turned off, the sensor is closed.
Now, remember that we set our Alexa routine to trigger when the virtual sensor “closes”. That means our SmartThings automation should turn the switch off (which closes the virtual sensor) to activate the Alexa routine.
Don’t think too hard about it. Just follow these steps and it will work.
To create the first SmartThings automation, open the SmartThings app,
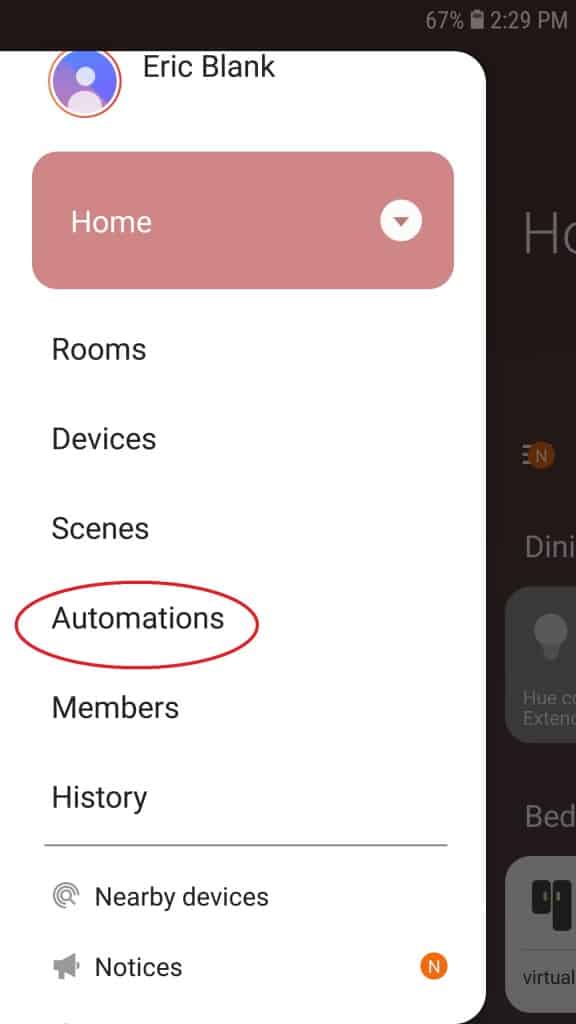
- Select Automations from the main menu.
- Then, Add automation.
- Then select Custom automation.
- This brings you to the custom automation screen. Select + under the If section.
- Choose Based on a device status.
- Scroll down to find the device you want to trigger this action. For me its my living room motion sensor which is just named Living Room.
- Then, I select the trigger conditions for my device, which are detect motion and detected. Yours may be different depending on the type of device you choose. When you’re done, press Next.
- Now let’s add the “Then” part of the automation. Press +.
- Select Control a device.
- Find and select the virtual switch in your list of devices. Press Next.
- Select the virtual switch which should now be displayed under the Then label to change the options.
- Select off so that the virtual switch turns off when motion is detected. Push Next.
- Click Save. Automation 1 is done.
Second SmartThings Automation
This automation will reset the virtual sensor back to the open position so it’s ready to be triggered again by the first automation.
- Press + to start a new automation.
- Select Custom automation, which bring us to a clean custom automation screen.
- First add the If condition.
- Again we want Based on device status.
- This time we choose virtual switch.
- Select the Contact sensor, closed condition. Then press Next.
- Now add the “Then” action. Press + under the Then label.
- Select Control a device.
- This time select the virtual switch again and press Next.
- Select the virtual switch to adjust the settings.
- Make sure the action is set to On. Then turn on the option to “Select how soon to start the action after the conditions are met”.
- Choose 10 Seconds. Press Done.
- Then, press Save and the second automation is done.
Final Thoughts
Now all that’s left is to test it out.
I know that was a lot of steps, but I try to be really thorough in case anyone who is completely new to this is reading. I promise once you do it a couple times, it only takes a couple minutes.
You should be able to repeat this process as many times as you want for any device that can be controlled by Alexa.
Anyway, I hope this was helpful and thanks for reading! If you have any questions, feel free to drop a comment below.
